Intro
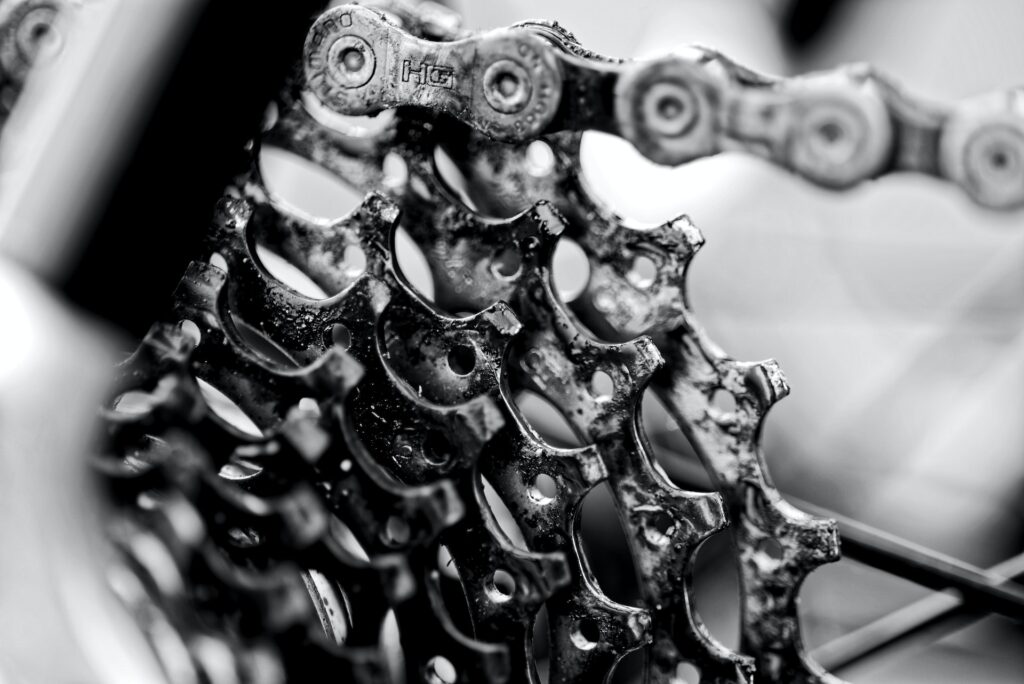
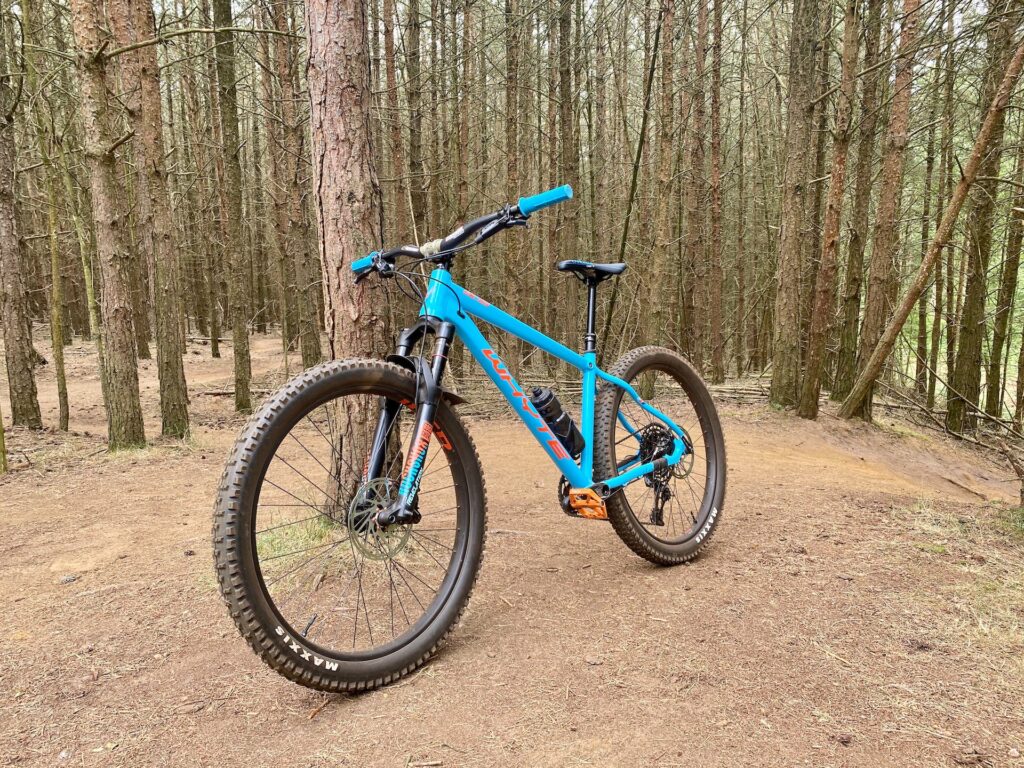
MTB chains are an essential component of any mountain bike, responsible for transferring power from the rider’s legs through pedals to the wheels. However, with so many options available on the market, it can be overwhelming to understand the differences between mtb chains and how to maintain them properly. In this blog post, we will break down the various types of mtb chains and share best practices for installation and maintenance to keep your ride running smoothly. Whether you’re a beginner or an experienced rider, this guide will help you make informed decisions and keep your mountain bike chains in top condition.
Unveiling the Importance of the MTB Chain
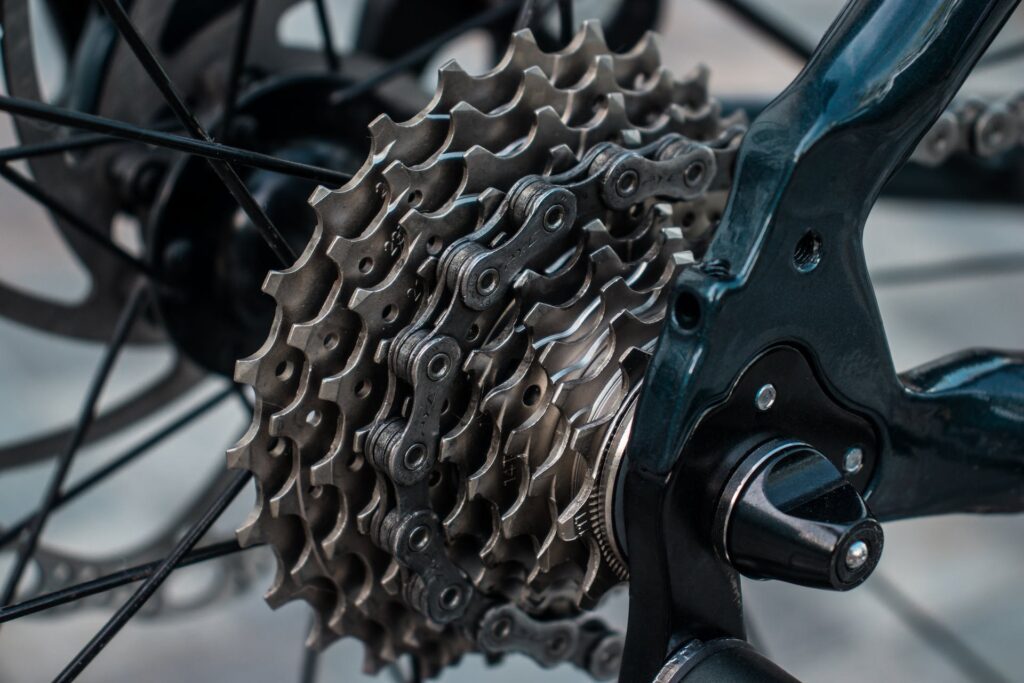
The mountain bike chain is a small but mighty component that plays a crucial role in the performance of your mountain bike. It is the vital link that transfers power from your legs to the wheels, allowing you to conquer challenging terrains with ease. Understanding the importance of the MTB chain and how to properly care for it is essential for maintaining optimal performance and extending its lifespan.
One of the primary reasons why the MTB chain is so important is because it directly affects your bike’s efficiency and power transfer. A well-maintained and properly installed chain ensures smooth pedaling and seamless gear changes, enabling you to make the most of your energy and pedal strokes. On the other hand, a worn-out or poorly maintained chain can result in energy loss, reduced power transfer, and a less enjoyable riding experience.
To ensure your MTB chain is functioning at its best, it’s essential to understand how to install it correctly. Proper installation involves removing any rust or dirt from the chain, ensuring it is the correct length for your bike’s drivetrain, and correctly tensioning it. It may sound daunting at first, but with a little practice and the right tools, you’ll be able to confidently install your chain like a pro. If you’re unsure, it’s always a good idea to seek guidance from a professional bike mechanic.
Maintenance is another crucial aspect of ensuring your mountain bike chain’s longevity and performance. Regular cleaning, lubrication, and inspection are essential. To clean your chain, remove any built-up dirt and grime using a degreaser and a brush. Once clean, it’s important to lubricate the chain to reduce friction and prevent corrosion. Choose a high-quality bike-specific lubricant and apply it evenly to each link. Be sure to wipe off any excess lubricant to prevent attracting dirt and grit.
In addition to regular cleaning and lubrication, it’s important to periodically check your chain for wear and stretch. As chains age and accumulate miles, they naturally elongate, causing increased wear on other drivetrain components. Using a chain checker tool, you can measure the elongation and determine if it’s time to replace your chain. Replacing your chain before it becomes excessively worn can prevent costly damage to other drivetrain parts and ensure smooth shifting and efficient power transfer.
Exploring Different Types of MTB Chains
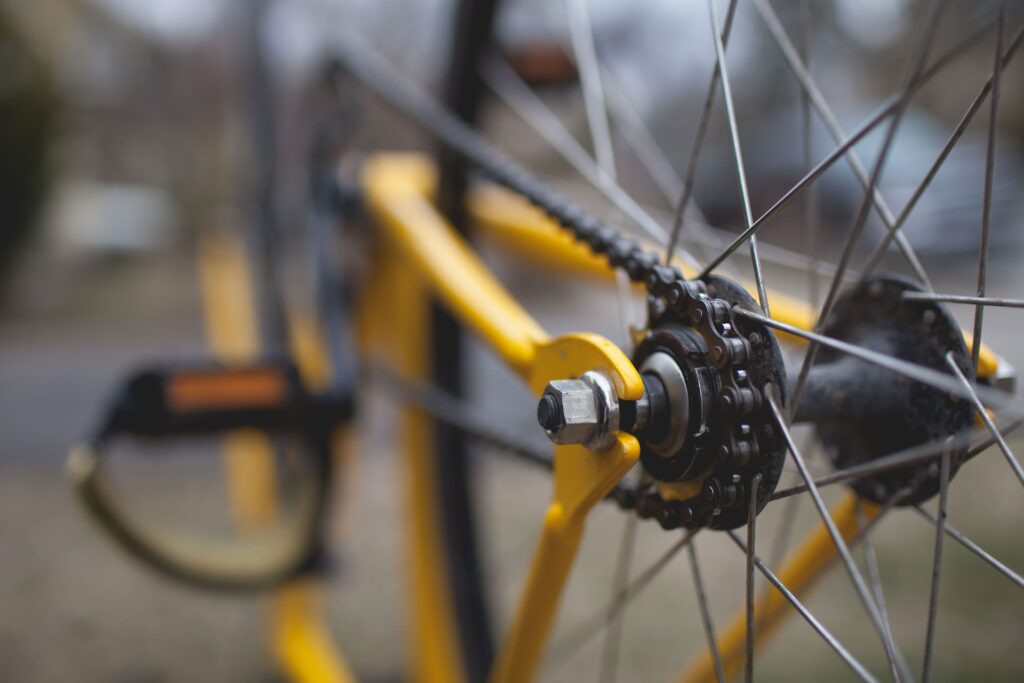
When it comes to mountain bike chains, there are various types to choose from, each with its own unique characteristics and benefits. Understanding the differences between these chains can help you make an informed decision and ensure optimal performance for your mountain bike.
One common type of mountain bike chain is the single-speed chain. As the name suggests, this chain is designed for bikes with a single gear ratio. Single-speed chains are typically wider and more robust than multi-speed chains, as they don’t need to accommodate shifting between gears. They are often used in BMX bikes, dirt jumpers, and fixed-gear bikes.
For those who prefer the versatility of multiple gears, there are multi-speed chains. These chains are designed to work with front and rear derailleurs, allowing for smooth shifting between gears. Multi-speed chains come in different widths to match the number of cogs on your cassette, so it’s important to choose the correct chain for your bike’s drivetrain.
Another type of MTB chain is the narrow-wide chain. This chain is specifically designed for 1x drivetrains, which have a single chainring at the front and a wide-range cassette at the back. Narrow-wide chains have alternating thick and thin teeth that mesh tightly with the chainring, reducing the chance of chain drops and improving chain retention.
When it comes to installing and maintaining your mountain bike chain, it’s important to follow the manufacturer’s guidelines. To install a new chain, start by removing any rust or dirt from the chain and ensuring it is the correct length for your bike’s drivetrain. Use a chain tool to break the chain and connect it to the desired length, then properly tension the chain by adjusting the rear derailleur. It’s also crucial to regularly clean and lubricate your chain to reduce friction and prevent corrosion. Use a degreaser and a brush to remove built-up dirt, then apply a high-quality bike-specific lubricant to each link. Be sure to wipe off any excess lubricant to prevent attracting dirt and grit.
Knowing when to replace your mountain bike chain is essential for maintaining optimal performance. As chains age and accumulate miles, they naturally elongate, causing increased wear on other drivetrain components. Using a chain checker tool, you can measure the elongation and determine if it’s time to replace your chain. Replacing your chain before it becomes excessively worn can prevent costly damage to other drivetrain parts and ensure smooth shifting and efficient power transfer.
By exploring the different types of MTB chains and learning how to install and maintain them properly, you can enhance your riding experience and prolong the lifespan of your chain.
The Ins and Outs of Installing an Mountain Bike Chain
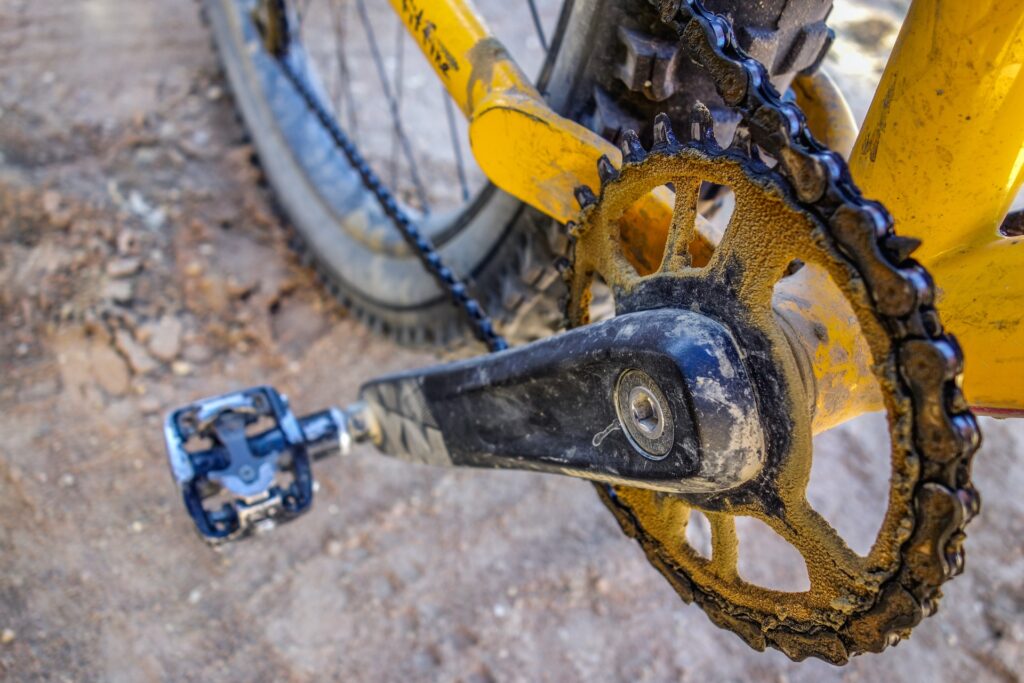
Installing an mountain bike chain may seem like a daunting task, but with the right tools and a little know-how, you’ll be able to confidently tackle it like a pro. Proper installation is crucial for optimal performance and longevity of your chain, so let’s dive into the ins and outs of this process.
First, you’ll want to start by removing any rust or dirt from the chain. A clean chain is essential for smooth operation and reduced wear. You can use a degreaser and a brush to scrub away any built-up grime. Pay special attention to the areas around the chainrings and cogs, as they tend to accumulate the most dirt.
Next, it’s time to determine the correct length for your chain. A chain that is too long can cause excessive tension, while a chain that is too short may not reach all the gears properly. Most MTB chains come with extra links that can be removed to achieve the perfect length. Use a chain tool to break the chain at the desired location, then connect the ends of the chain to form a complete loop. Make sure the connection is secure and properly aligned.
Once you have the chain at the correct length, it’s time to tension it. This step is crucial for proper shifting and power transfer. Begin by shifting your rear derailleur to the smallest chainring and smallest cog. Then, use the barrel adjuster on your rear derailleur to fine-tune the tension. The goal is to have enough tension so that the chain does not sag excessively, but not so tight that it puts unnecessary strain on the drivetrain. Take your time and make small adjustments until you achieve the desired tension.
Now that your chain is properly installed and tensioned, it’s important to lube it. Lubrication helps reduce friction and prevents corrosion, ensuring smooth operation and extending the life of your chain. Use a high-quality bike-specific lubricant and apply it evenly to each link. Be sure to wipe off any excess lubricant to prevent attracting dirt and grit, which can accelerate chain wear.
Remember, proper installation and maintenance of your mountain bike chain are crucial for optimal performance. With a clean, well-lubricated, and correctly tensioned chain, you’ll experience smooth shifting, efficient power transfer, and a more enjoyable riding experience. If you’re unsure about any step of the installation process, don’t hesitate to seek guidance from a professional bike mechanic.
Mastering the Art of Bike Chain Maintenance
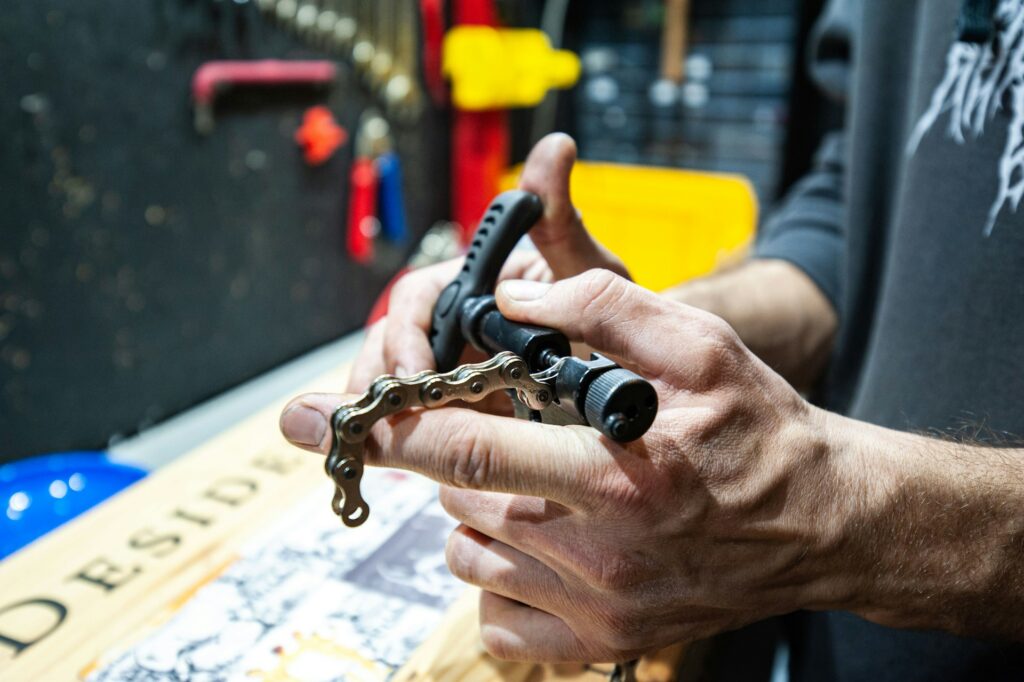
Maintaining your mountain bike chain is a crucial part of ensuring its longevity and optimal performance. By following some simple steps and best practices, you can master the art of mountain bike chain maintenance and keep your ride running smoothly.
First and foremost, regular cleaning is essential for maintaining your chain. Over time, dirt, grime, and debris can accumulate on your chain, causing it to wear faster and impacting its performance. To clean your chain, start by removing any built-up dirt and grime using a degreaser and a brush. Pay close attention to the areas around the chainrings and cogs, as they tend to accumulate the most dirt. Make sure to thoroughly rinse off any residue from the degreaser and let your chain dry completely before moving on to the next step.
Once your chain is clean, it’s time to lubricate it. Lubrication is important for reducing friction, preventing corrosion, and ensuring smooth operation. Choose a high-quality bike-specific lubricant and apply it evenly to each link of your chain. Be careful not to use too much lubricant, as this can attract dirt and grit, which can accelerate chain wear. After applying the lubricant, make sure to wipe off any excess to prevent any buildup.
In addition to regular cleaning and lubrication, it’s important to periodically check the tension of your chain. An overly loose or tight chain can lead to poor shifting and power transfer. To check the tension, shift your chain onto the smallest chainring and smallest cog, then gently pull the chain away from the chainring. There should be a slight amount of movement, but it should not sag excessively. If your chain is too loose, you can tighten it by adjusting the tension using the barrel adjuster on your rear derailleur. If it’s too tight, you may need to remove a link or consult a professional bike mechanic for assistance.
Another important aspect of mountain bike chain maintenance is checking for any signs of wear or stretch. As chains age and accumulate miles, they naturally elongate, which can lead to increased wear on other drivetrain components. Using a chain checker tool, you can measure the elongation of your chain and determine if it’s time for a replacement. It’s always better to replace your chain before it becomes excessively worn to prevent damage to other drivetrain parts and ensure smooth shifting and efficient power transfer.
Mastering the art of MTB chain maintenance takes practice and attention to detail. By regularly cleaning, lubricating, checking tension, and monitoring wear, you can keep your chain in top condition and enjoy a smoother and more reliable ride.
Knowing When to Replace Your Mountain Bike Chain
As much as we would like our MTB chains to last forever, the reality is that they do have a lifespan. Over time, chains naturally wear out due to the stress and strain they endure during your off-road adventures. Knowing when to replace your mountain bike chain is crucial for maintaining optimal performance and preventing damage to other drivetrain components. Here are some telltale signs that it’s time to say goodbye to your old chain and welcome a new one.
One of the most obvious signs that your MTB chain needs replacing is visible wear. As chains age and accumulate miles, the metal links start to elongate, causing increased gaps between the chain’s pins and rollers. This elongation is commonly referred to as “chain stretch.” You can measure chain stretch using a chain checker tool. If your chain is elongated beyond the manufacturer’s recommended limit, it’s time to swap it out for a new one.
Another sign that it’s time for a new chain is excessive rust or corrosion. If you notice that your chain is covered in rust or that certain areas are severely corroded, it’s a clear indication that your chain’s structural integrity has been compromised. Rust can weaken the metal and make your chain more prone to snapping or breaking under stress. In this case, it’s best to remove the rusted chain and replace it with a fresh, corrosion-free one.
If you find yourself struggling to maintain proper tension on your MTB chain despite multiple adjustments, it may be a sign that it’s time for a replacement. Over time, chains can become stretched beyond the point of adequate tensioning. No matter how much you tighten your chain or adjust your derailleur, you may still experience poor shifting and power transfer. If this is the case, it’s best to change your chain and start fresh.
Finally, if you’ve had your current MTB chain for a significant amount of time or if you’ve put a substantial number of miles on it, it’s worth considering a replacement. Even if you don’t notice any visible signs of wear or damage, chains do have a limited lifespan. Regularly changing your chain can help prevent costly damage to other drivetrain components and ensure that you’re always getting the most out of your rides. In conclusion, knowing when to replace your MTB chain is essential for maintaining optimal performance and preventing damage to your bike. Look out for visible signs of wear, such as elongation, rust, and corrosion. If your chain struggles to maintain proper tension or if it has been in use for an extended period, it’s time to invest in a new chain. By staying on top of chain maintenance and knowing when to replace it, you can ensure a smooth and enjoyable riding experience.

